Tuesday 16 September 2014

Shed roof extension - part 6 - Building the new end wall

Having recycled the old roof panels into side walls, it was left to build a new end wall. This is North to North West facing so gets some evening light. Here's the gap to be filled


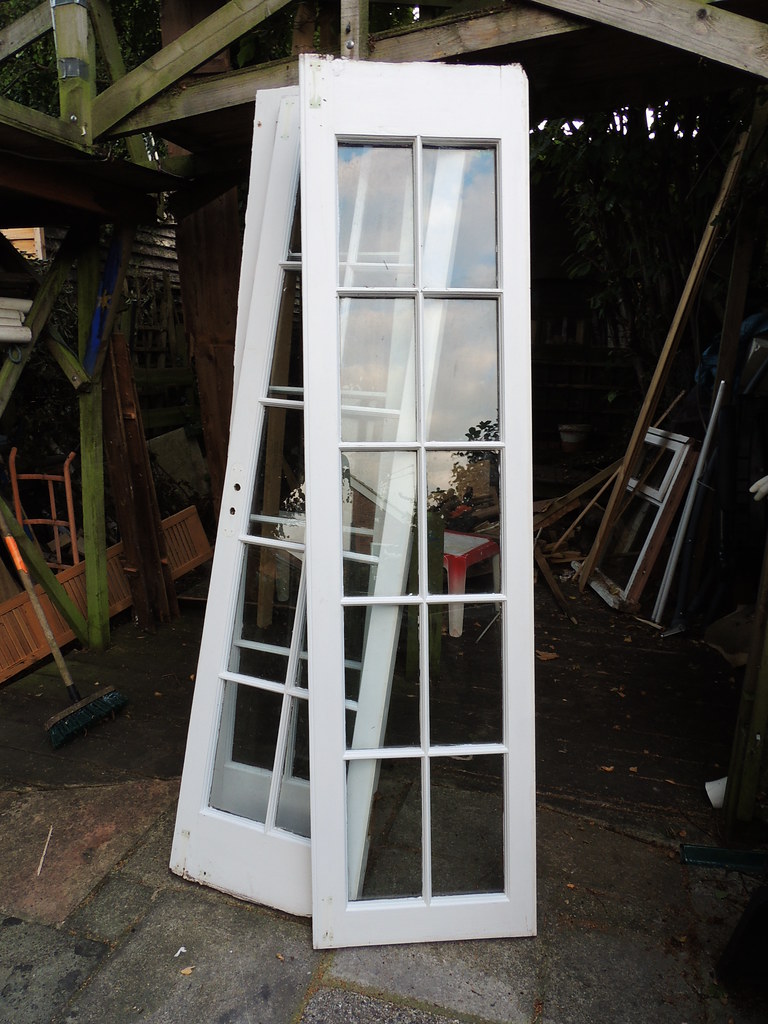
Conveniently, during a recent round of skipping, I had retrieved the following three panel-glazed french doors - how handy!


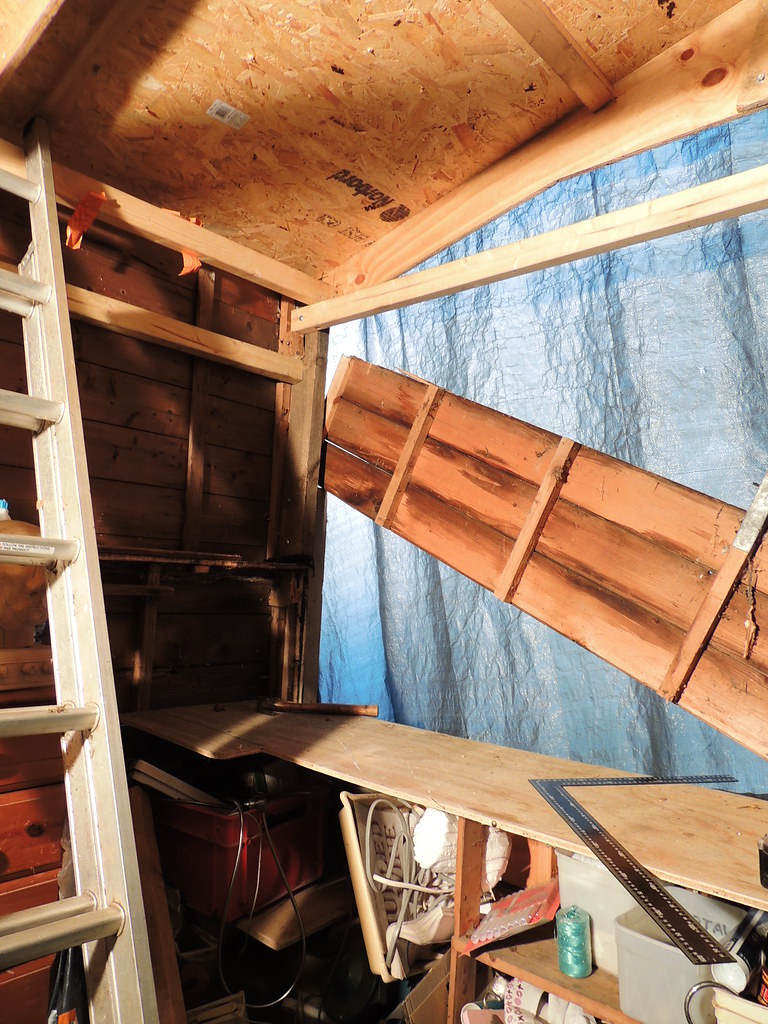
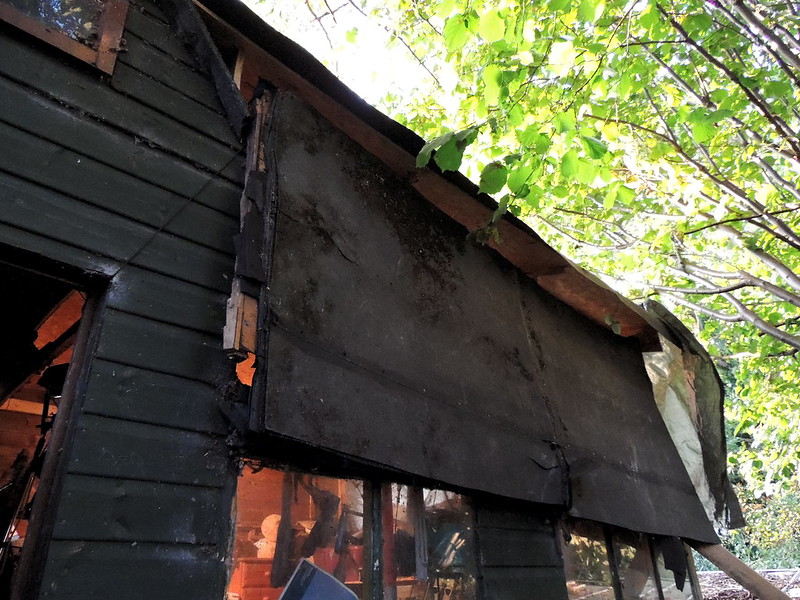
These could be made to fit into the remaining gap in the end wall of the shed, but first the opening needed to be made. The gap that was formed between new and old rooves was slightly too high, so some boards needed to be removed to lower this. Sawing off parts of your shed is slightly weird, but strangely compelling.


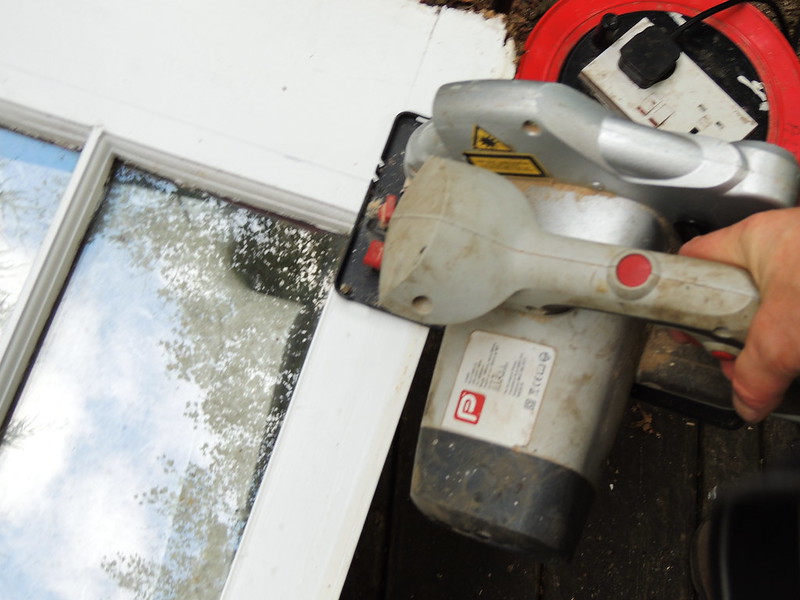
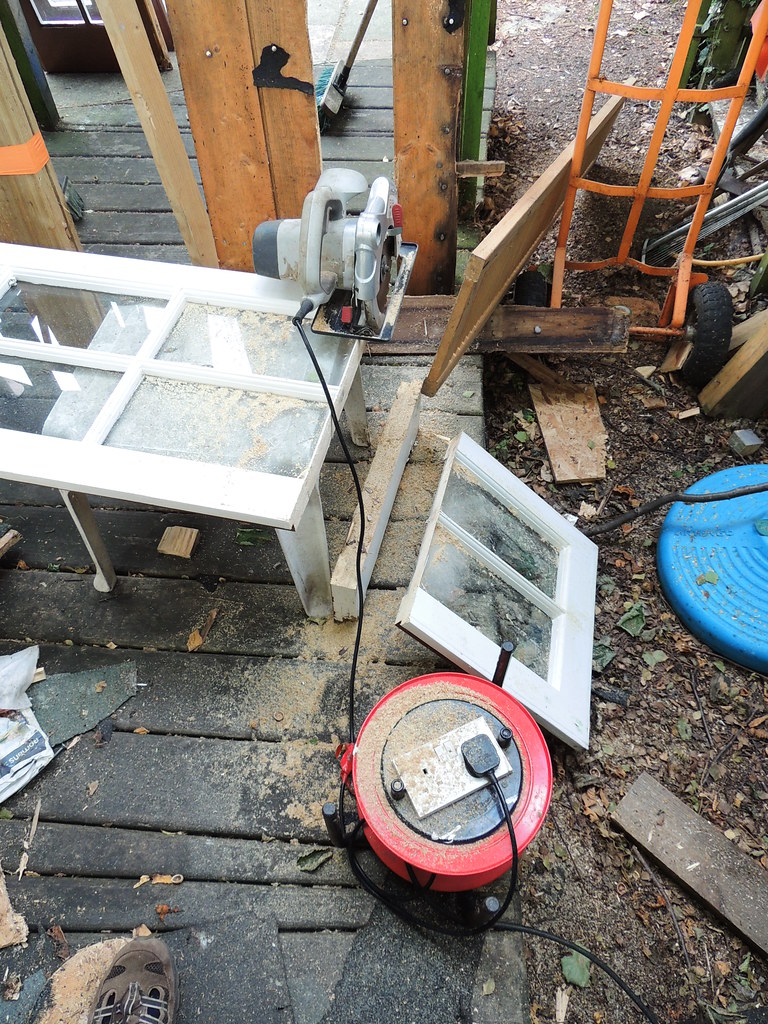
To fit in the open spans between uprights, the french doors needed to be cut into parts. Some care and tightly sealed eye goggles were needed in case the blades hit glass


ta-da!

Here's the first panel in situ


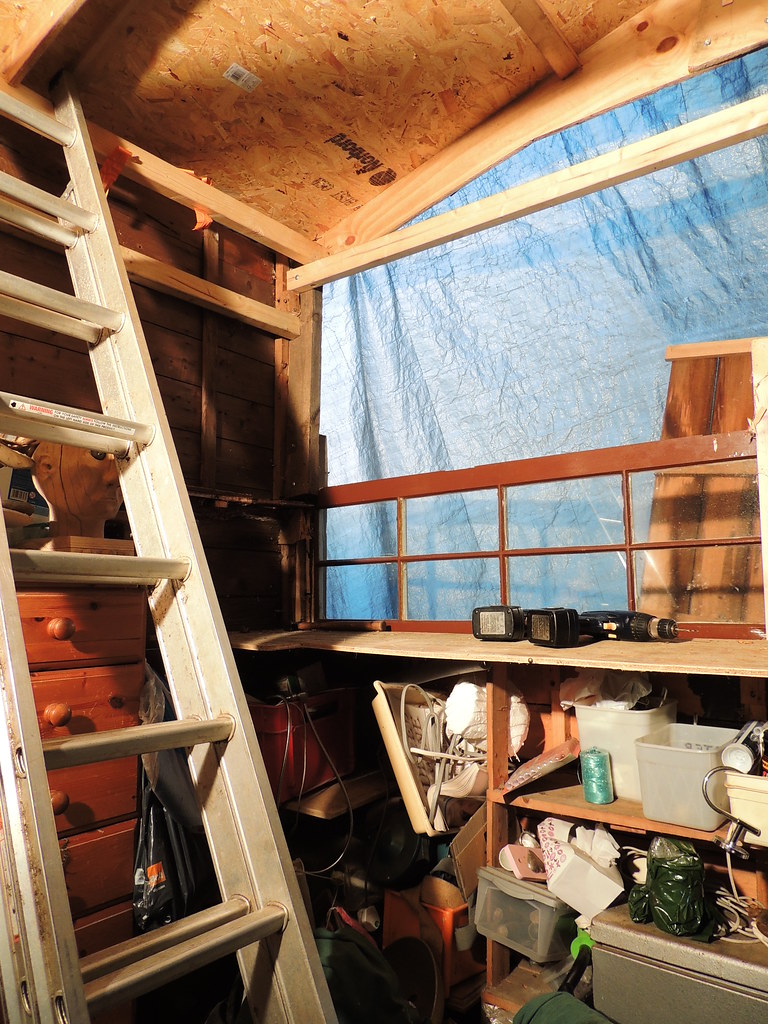
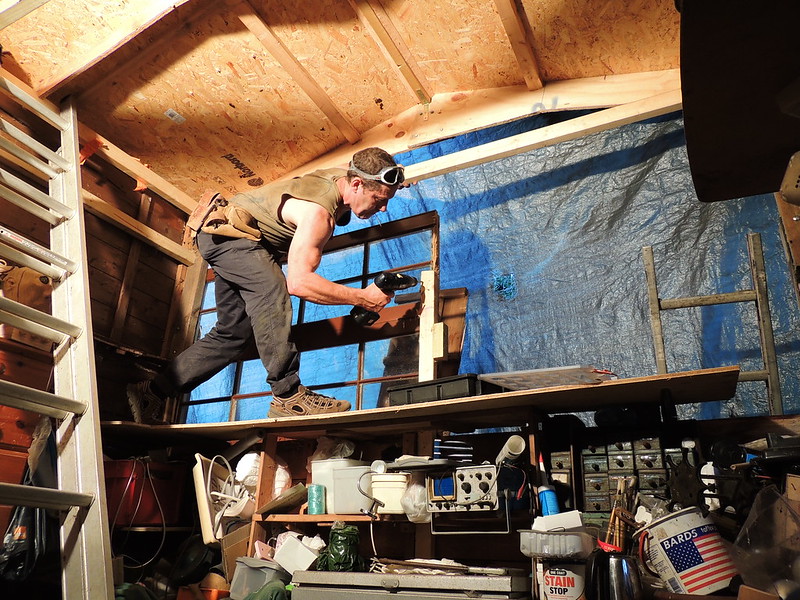
Fitting in the next one and so on. Naturally this involved climbing up old shelving - you get the idea


*INTERLUDE* Here's a frog I found outside whilst positioning a ladder *INTERLUDE*


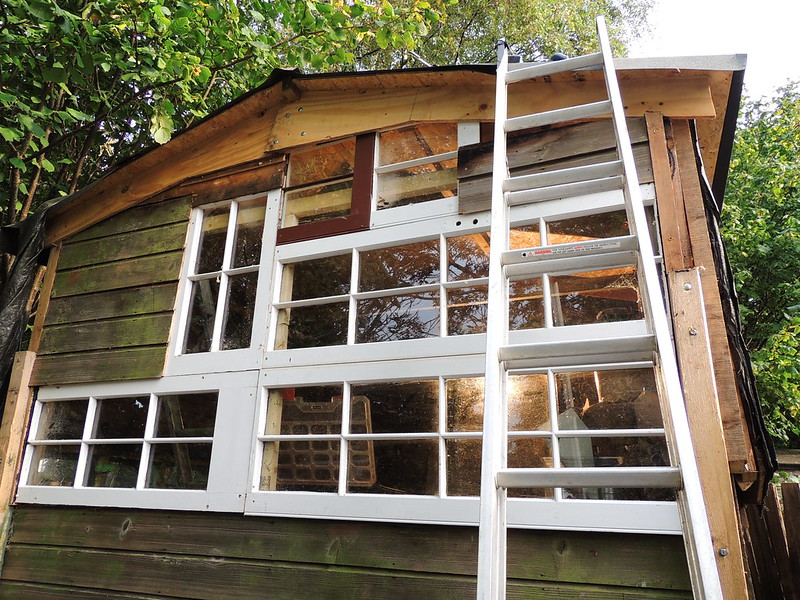
Eventually it looked like this


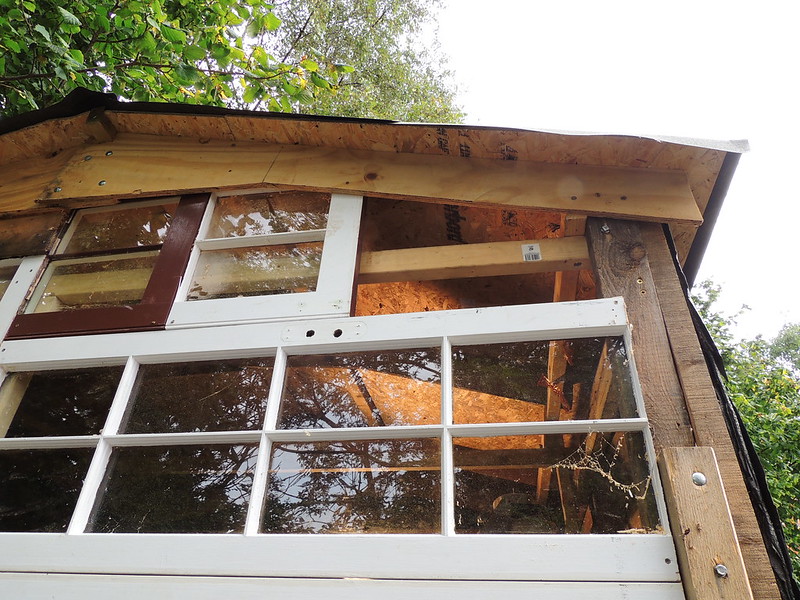
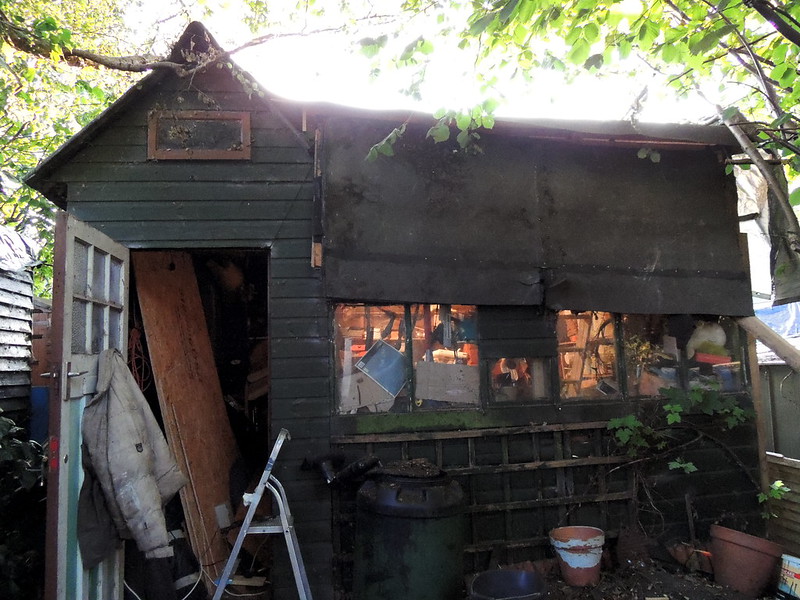
The gaps left were panelled over with leftovers from the wall section removed earlier...


Once completed, the windows were masked ready for painting


After painting it looked pretty nifty...


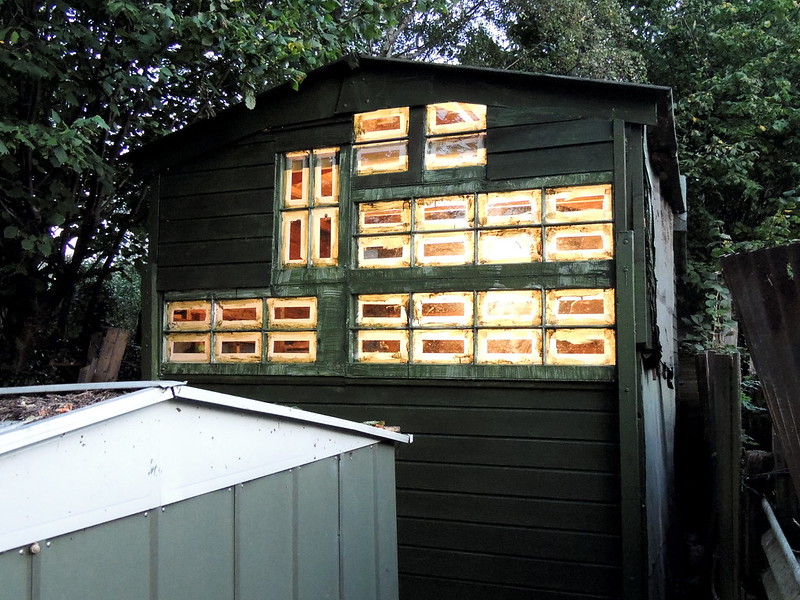
And inside, in the evening, it has a cathedral vibe going on. I might stain the windows!


Saturday 13 September 2014

Shed roof extension - part 5 - cutting off the old roof

Once the lovely new felt roof was in place, the old could be removed. Some care was needed as the two halves of the old roof were needed to be kept intact. They were what would make up the missing walls between the top of the existing shed and the new roof.

The old roof was lapped planks, with at least 4 layers of felt - pretty waterproof, but also very heavy. Here it has been cut off along the edges and is being slid off as a large panel. It weighs about the same as a person, probably about 80 kilos at least. Some careful sliding and leveraging was required..

Here is the shed looking up at the new roof through the hole in the old one.


Big panels are a bit of a health hazard. This one especially, as the clout nails that hold the felt on stick out through the wood. If it slides over you, it grates your skin mercilessly.


The same panel from the side


Here is the shed with the wall gap needing to be filled between the top of the old walls and the new roof.


Lifting a heavy panel 6 foot above the ground and fitting it single handed isn't gonna happen without some cunning mechanics... Here the panel has been walked up to positon then secure in the corner to create a lever point.


This was simply nylon twine...


This then makes it a lot easier to lift with the added leverage the string fulcrum gives.

Eventually, after lots of lifting and securing, edging corner by corner, the old roof panel became a new side panel...


thus...


Monday 1 September 2014

Shed roof extension - part 4 - boarding and felting

Here is the new roof, just felted and looking dead good. The nearground area is the new raised annex. The raised apex at the far end of the shot is the top of the existing roof apex.
This is what it looked like before the felt was added. You can see the felt of the existing roof complete with moss (later removed)


Here is the felt being laid...
And from another view
Before the felt coul dbe applied, the rafters had been boarded...
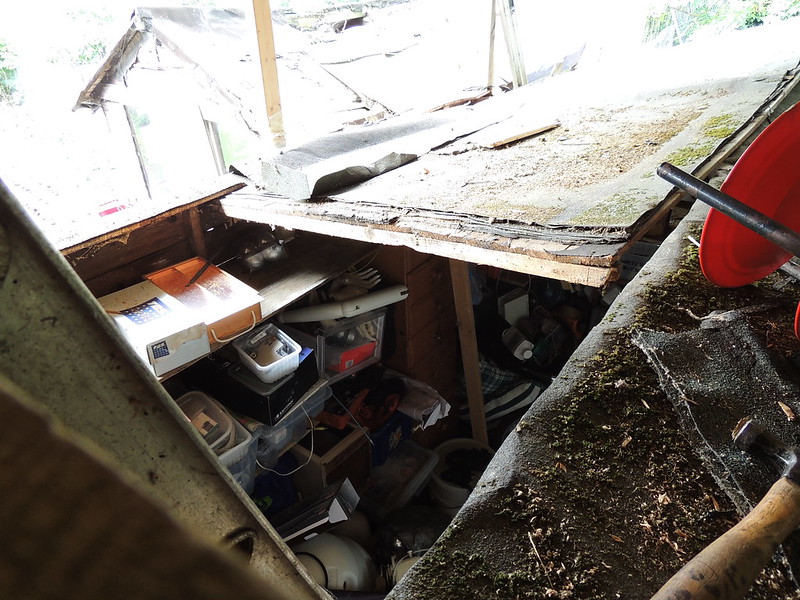
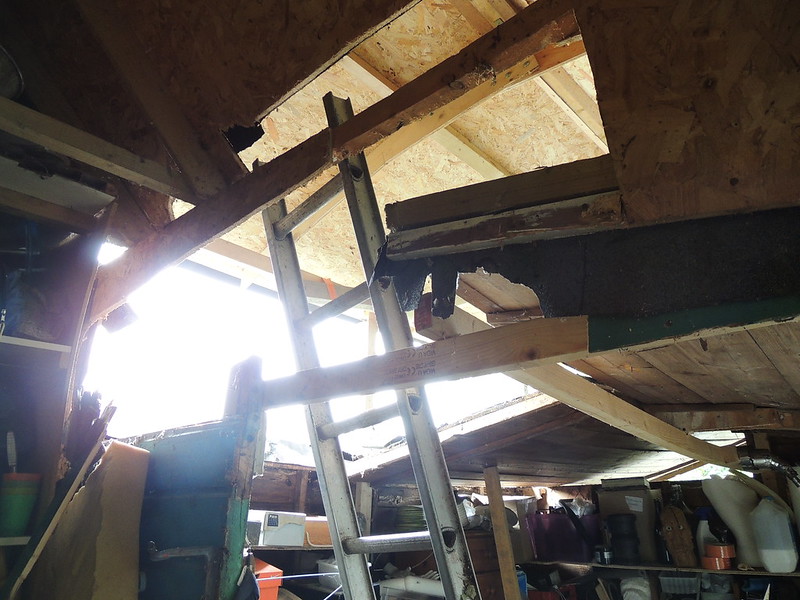
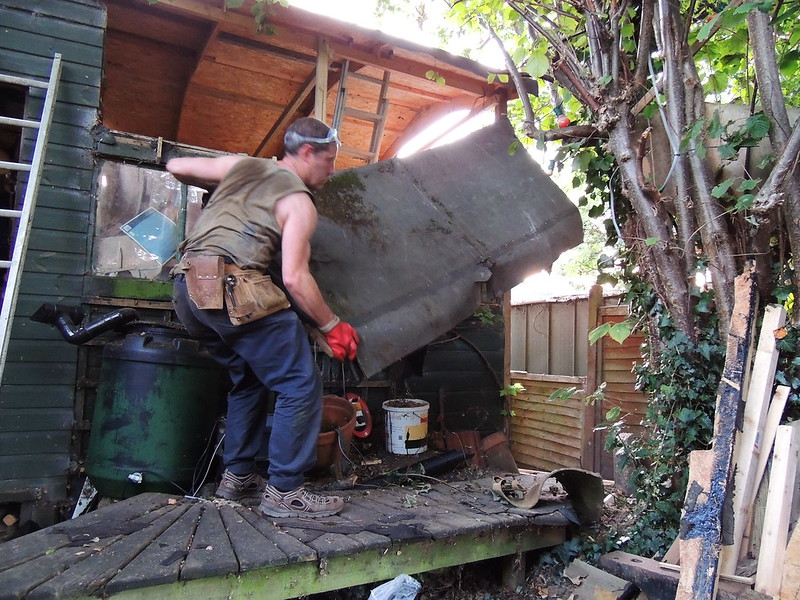
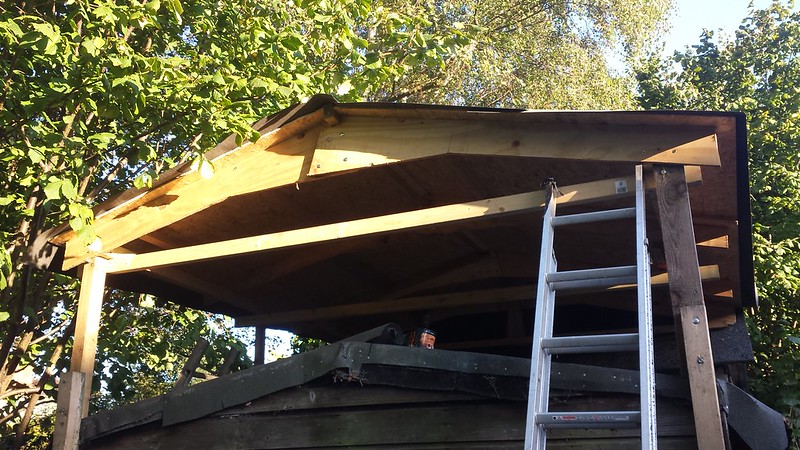
Obviously, this involved a lot of clambering up ladders to fix the apex rail to the old shed and so on...


To do this required adding the new boards using the old roof below as the scaffolding.
Here you can see the truss beams added to give support to the boards. Being OCB borads, they are strong, but not strong enough to stand on a wide unsupported span of board. A range of fixing methods were used. Here you can see an L bracket, but some were screwed onto the rafters directly
Here's it more or less done, ready for felting...
Some of the fine craftmanship used to support the boards...


Once the boarding was robust enough, the felting was fairly easy. This is started from the bottom of the roof so that the next layer overlap joint was over the top to allow water to run off, not under a layer


The same layer from the other angle, showing it continuing up over the old roof in one piece.